Introduction
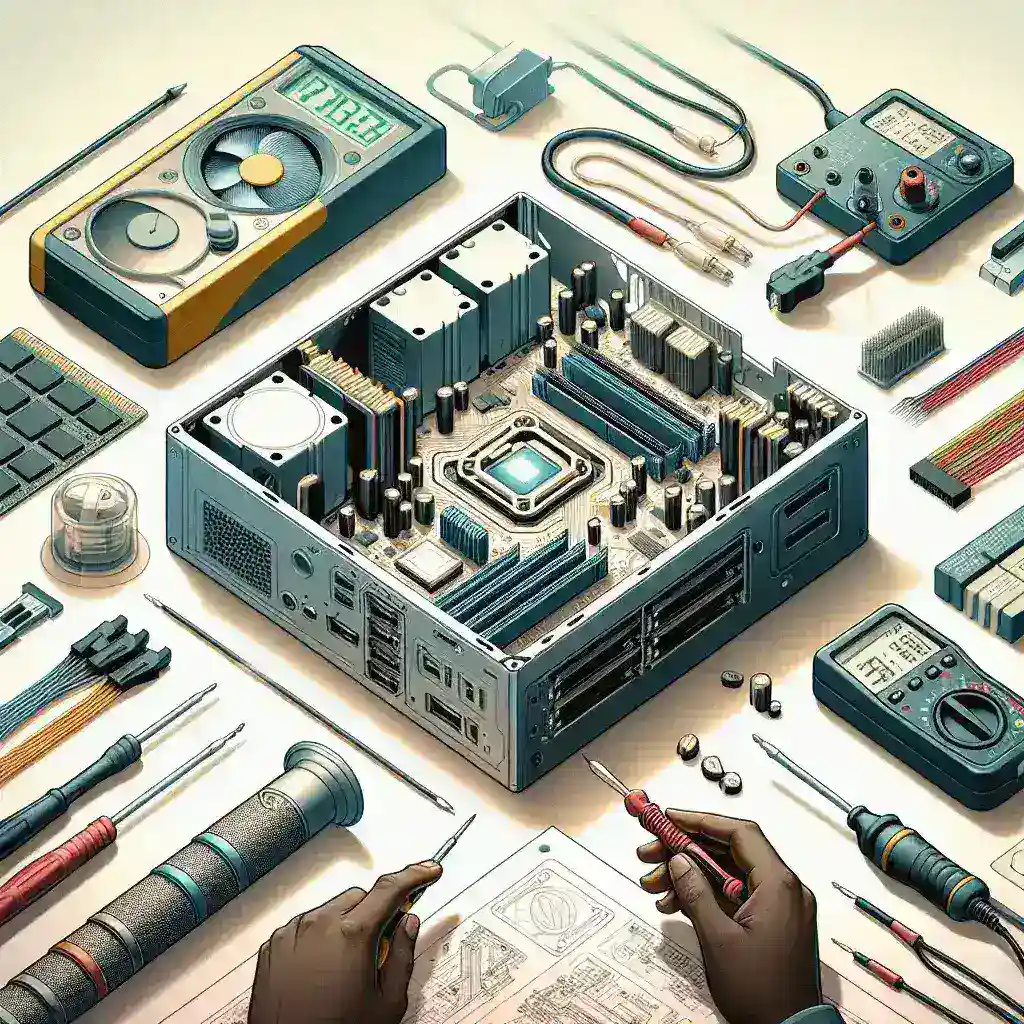
Building a new computer can be an exhilarating experience. You’ve carefully selected each component to create a powerful and efficient machine. However, before you start using your new build, it’s crucial to ensure that everything is functioning correctly. Testing a newly built computer is an essential step to guarantee its stability, performance, and longevity. In this guide, we’ll delve into the best ways to test your newly built computer.
Checklist for Testing a Newly Built Computer
Before we get into the specifics, let’s first outline a high-level checklist to guide you through the testing process:
- Perform visual inspection
- Boot into BIOS
- Check hardware functionality
- Install an operating system
- Run basic functionality tests
- Stress test the CPU and GPU
- Test RAM stability
- Check storage drives
- Monitor temperatures
- Monitor system performance
- Test network functionality
- Test peripheral devices
Now, let’s delve into each of these steps in detail.
1. Perform a Visual Inspection
Before powering up your new build, perform a visual inspection to ensure all components are correctly installed and connected. Check for loose cables, verify that the CPU cooler is securely mounted, and ensure that the RAM modules and graphics card are seated correctly. A quick visual check can prevent potential issues when you power on the system for the first time.
2. Boot into BIOS
Once you’ve confirmed that everything looks good, it’s time to power on your computer and boot into the BIOS. To enter the BIOS, press the designated key (usually Del, F2, or Esc) during the initial boot sequence.
Tasks to Perform in BIOS:
- Verify component detection: Ensure that the BIOS recognizes the CPU, RAM, storage drives, and any other installed components.
- Check temperatures: Inspect CPU and motherboard temperatures to ensure they are within reasonable ranges.
- Adjust boot order: Set the primary storage device as the first boot option to prepare for the operating system installation.
3. Check Hardware Functionality
With BIOS setup complete, proceed to check the functionality of all hardware components. Ensure that internal fans are spinning, the CPU cooler’s pump (if applicable) is operational, and all installed drives are detected. Confirm that connected monitors and peripherals are functioning correctly.
4. Install an Operating System
The next step involves installing an operating system (OS). Most users opt for Windows or a Linux distribution. Create a bootable USB drive with the OS installation files, insert it into a USB port, and restart the computer. Follow the prompts to complete the OS installation.
5. Run Basic Functionality Tests
With the OS installed, perform basic functionality tests to confirm that the system is operating as expected. These tests include:
- Opening file explorer and navigating through folders
- Connecting to the internet and browsing websites
- Installing and running basic applications
- Transferring files between drives
6. Stress Test the CPU and GPU
To ensure the stability of your CPU and GPU, stress testing is essential. This process pushes your components to their limits, revealing any potential stability issues.
Recommended Stress Testing Tools:
- CPU: Prime95, AIDA64, IntelBurnTest
- GPU: FurMark, Unigine Heaven, 3DMark
Run these stress tests for several hours while monitoring temperatures and system stability. If your computer crashes or overheats, investigate the root cause and make necessary adjustments.
7. Test RAM Stability
RAM stability is crucial for overall system performance. Using a tool like MemTest86, you can thoroughly test your RAM for errors. Create a bootable USB drive with MemTest86, restart your computer, and boot from the USB drive. Allow the test to run for several passes to ensure there are no memory errors.
8. Check Storage Drives
Assess the performance and health of your storage drives using tools like CrystalDiskInfo and CrystalDiskMark. These applications provide detailed information about drive health, read/write speeds, and any potential errors.
9. Monitor Temperatures
Install monitoring software such as HWMonitor or Core Temp to keep an eye on your system’s temperatures. Excessive heat can affect performance and decrease component lifespan. Ensure that your CPU, GPU, and other components operate within safe temperature ranges.
10. Monitor System Performance
Use benchmarking tools like Cinebench and PCMark to evaluate your system’s performance. Compare the results to similar builds to ensure your new computer meets or exceeds expected performance levels.
11. Test Network Functionality
Ensure that both wired and wireless network connections are functioning correctly. Test internet speed using tools like Speedtest.net and confirm that your computer maintains a stable and fast connection.
12. Test Peripheral Devices
Finally, check the functionality of all peripheral devices, including keyboards, mice, printers, and external drives. Confirm that these devices are recognized by the system and work properly.
Conclusion
Testing a newly built computer is an essential step to ensure a smooth and reliable user experience. By following this comprehensive guide, you can identify and address any potential issues before they become significant problems. Remember, thorough testing not only confirms that your build works as intended but also helps extend the lifespan of your components. Enjoy your new, powerful, and stable machine!

