Instagram is not just a platform for sharing photos and videos; it’s also a powerful tool for building and maintaining relationships with your audience. One of the most useful features for managing your inbox is the ability to set up auto-replies in Instagram DMs. Auto-replies can help you save time, stay organized, and ensure that your followers feel heard, even when you’re not available to respond immediately. In this guide, we will walk you through the steps to set up auto-replies in Instagram DMs, along with some tips and best practices to maximize their effectiveness.
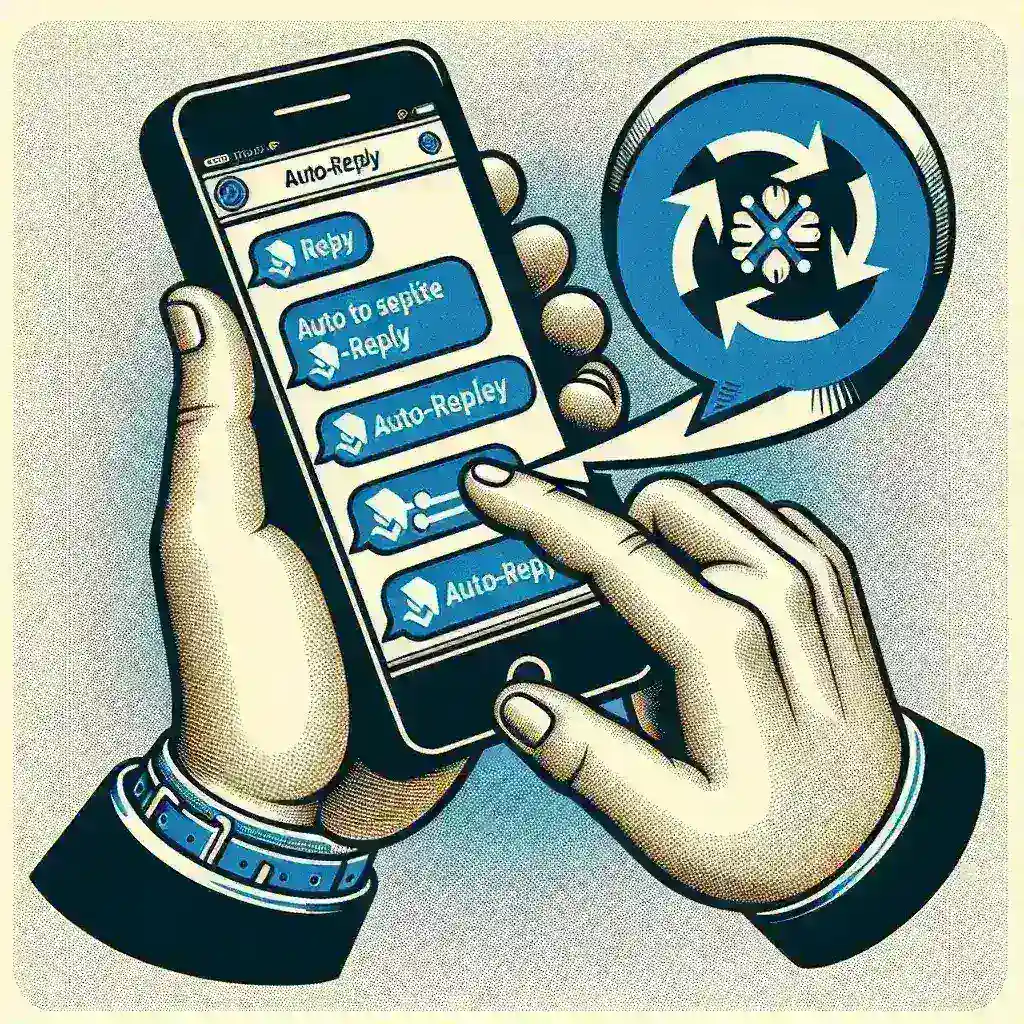
Why Set Up Auto-Replies in Instagram DMs?
Auto-replies, also known as automatic responses, are messages that are sent automatically to anyone who sends you a direct message (DM) on Instagram. Here are some reasons why setting up auto-replies can be beneficial:
- Time-Saving: Responding to every DM manually can be time-consuming, especially if you have a large following. Auto-replies allow you to acknowledge messages quickly and efficiently.
- Professionalism: An auto-reply can help maintain a professional image by letting your followers know that you have received their message and will get back to them as soon as possible.
- Engagement: Auto-replies can include links to your posts, products, or other relevant content, encouraging your followers to engage more with your profile.
- Automation: If you’re running a business or managing a large account, auto-replies can be a part of your automation strategy to handle routine tasks.
Step-by-Step Guide to Setting Up Auto-Replies in Instagram DMs
Step 1: Install a Third-Party App
Unfortunately, Instagram does not have a built-in feature for setting up auto-replies in DMs. However, there are several third-party apps and services that can help you achieve this. Some popular options include:
- Buffer: A social media management platform that allows you to schedule posts and set up auto-replies.
- Hootsuite: Another comprehensive social media management tool with auto-reply capabilities.
- ManyChat: A chatbot platform that can be integrated with Instagram to send automated messages.
For this guide, we will use ManyChat as an example. Here are the steps to set up auto-replies using ManyChat:
Step 2: Create a ManyChat Account
If you don’t already have a ManyChat account, you can sign up for free on their website. Once you’ve created your account, log in and navigate to the dashboard.
Step 3: Connect Your Instagram Account
To connect your Instagram account to ManyChat, follow these steps:
- Click on the “Apps” tab in the ManyChat dashboard.
- Select “Instagram” from the list of available apps.
- Click on “Connect” and follow the prompts to authorize ManyChat to access your Instagram account.
- Choose the Instagram account you want to connect and confirm the connection.
Step 4: Create a New Flow
A flow in ManyChat is a sequence of automated messages. To create a new flow for your Instagram auto-replies, follow these steps:
- Click on the “Flows” tab in the ManyChat dashboard.
- Click on “Create New Flow” and give your flow a name, such as “Instagram Auto-Reply”.
- Select “Instagram” as the trigger for your flow. This means that the flow will be activated whenever someone sends a DM to your Instagram account.
Step 5: Add Your Auto-Reply Message
Now it’s time to add the message you want to send as an auto-reply. Here’s how:
- In the flow builder, click on the “+” icon to add a new block.
- Select “Send Message” from the list of available blocks.
- Enter the text you want to send as your auto-reply. You can also add links, images, or other media to make your message more engaging.
- Click “Save” to finalize your message.
Step 6: Test Your Auto-Reply
Before you go live with your auto-reply, it’s a good idea to test it to ensure everything is working correctly. You can do this by sending a test message to your Instagram account from another account and checking if the auto-reply is sent.
Step 7: Go Live
Once you’re satisfied with your auto-reply, you can activate the flow by clicking the “Start” button in the ManyChat dashboard. Your auto-reply will now be sent to anyone who sends a DM to your Instagram account.
Tips for Effective Auto-Replies in Instagram DMs
To make the most of your auto-replies, consider the following tips:
- Be Personal: Even though your auto-reply is automated, you can still make it feel personal. Use the recipient’s name if possible and include a friendly greeting.
- Provide Value: Your auto-reply should offer something of value to the sender. This could be a link to a recent post, a special offer, or a link to your website.
- Set Expectations: Let your followers know when they can expect a response from you. For example, you might say, “Thank you for your message! I will get back to you within the next 24 hours.”
- Include a Call-to-Action: Encourage your followers to take a specific action, such as following your account, visiting your website, or sharing your content.
- Monitor and Adjust: Periodically review your auto-replies to ensure they are still relevant and effective. Make adjustments as needed based on feedback and engagement.
Conclusion
Setting up auto-replies in Instagram DMs can be a game-changer for managing your inbox and maintaining engagement with your audience. By following the steps outlined in this guide, you can automate your responses, save time, and ensure that your followers feel valued. Whether you’re a business owner, influencer, or simply someone with a large following, auto-replies can help you stay connected and responsive. Start implementing auto-replies today and see the difference it can make in your Instagram strategy.